
How to Hike Cracker Lake in Glacier National Park + Tips & FAQs
This guide contains affiliate links to trusted partners.
Looking to take on hiking to Cracker Lake on your Glacier National Park trip?
When exploring the outdoors, I encourage you to follow Leave No Trace Principles and be respectful of where you are so we can preserve these spaces for future generations. ♥️
Cracker Lake was one of the hikes in Glacier National Park that was often overlooked for many years. Many hikers chose to take on some of the other, more popular trails like the Grinnell Glacier hike or the Highline Trail. However, over the past few years Cracker has become more and more visited due to social media. It’s been widely covered on Instagram!
I had never heard of it until seeing it on my feed, and this is someone who grew up right by Glacier! If you can, you can also get backpacking permits for it to stay overnight. When I finally did manage to snag some, the trail was closed due to bear activity.
Daniel and I finally managed to complete the hike a year later, and I was shocked how beautiful this spot was. While the majority of the hike itself is nothing too spectacular, the payoff at the end is so worth it–and it really photographs well if you are into that!
In summary: This article will share with you how to hike the Cracker Lake hike step-by-step, as well as some personal recommendations from me so you make the most of your time on the trail.
Quick tip: If you can, consider staying at the Many Glacier Hotel the night before–you can find the trailhead for this hike right at the parking lot!
Quick stats
Distance: 12.8 miles
Difficulty: Hard
Elevation gain: 1,712 feet
Time on trail: 6 hours

How to hike to Cracker Lake
You’ll start your hike at the upper parking lot at the Many Glacier Hotel. If you are looking at the hotel, you will want to head over to the far left side of the parking lot, where there will be a sign that says “Cracker Lake/Piegan Pass.” From there, you will continue and pass a few signs that will point to Cracker Lake or Cracker Flats. Head the direction of Cracker Lake.
One thing that I don’t love about this hike is that you also share it with horses. You’ll find their poo pretty much the entire way to the lake, though the beginning of the hike is much worse. In the morning, the smell is not so bad, but by the time things heat up in the afternoon it can get a little stinky.
Also, you’re going to want to keep in mind that bear sightings and encounters are very common in this area. There has almost always been a warning every time I look online to see bear activity on the Trail Status page on the Glacier National Park website. Bring your bear spray, hike in a group, and make noise.
About a mile in, you’ll see the very western end of Lake Sherburne, which you will follow for a short while before reaching some thick vegetation. I would say that Cracker is not as well maintained as some of the other trails in the park, so you’ll be wading through it a few times on your way to the lake.
Quick tip: There are several horse trails that lead off the trail around here, so make sure to follow the signs for hikers!
After this, you’ll hit a section of switchbacks, which is where you will gain the majority of your elevation during the hike. These are steady and gradual and continue for about a mile and a half before evening out again. You’ll work your way through more vegetation until you get to a bridge where you will cross a low-flowing river.
Daniel and I heard a loud noise here which we were later informed was a grizzly bear. We didn’t see it, but we made sure to have our bear spray out and we yelled “hey, bear” and he left us alone.

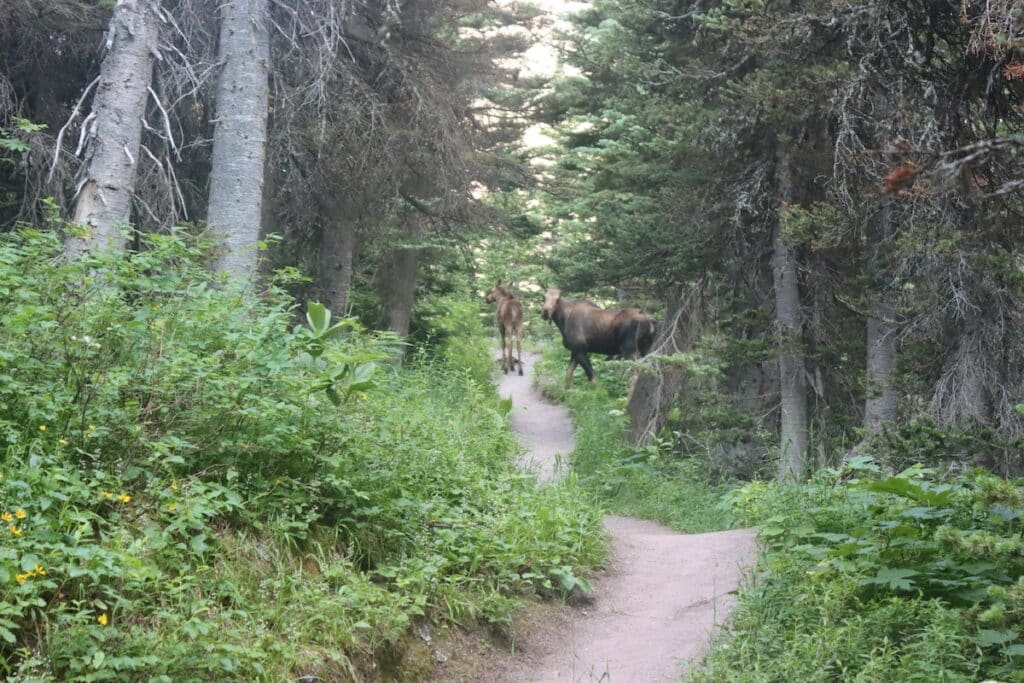
From there, you’ll gain a bit more elevation, but you’ll be out of the worst of the vegetation and the views will start to open up a bit. Daniel and I saw a momma moose and her baby along this section, so keep in mind that bears are not the only animals you need to look out for on this trail.
You’ll start to see wildflowers in the meadows depending on what time of year you take this hike on. The views will open up, and you’ll start to see more of the mountains and the beginnings of Cracker Lake. This section is long, but relatively flat other than the end where you can hike up to a convenient pit toilet and some rock ledges where you can get a wonderful view of that turquoise water.
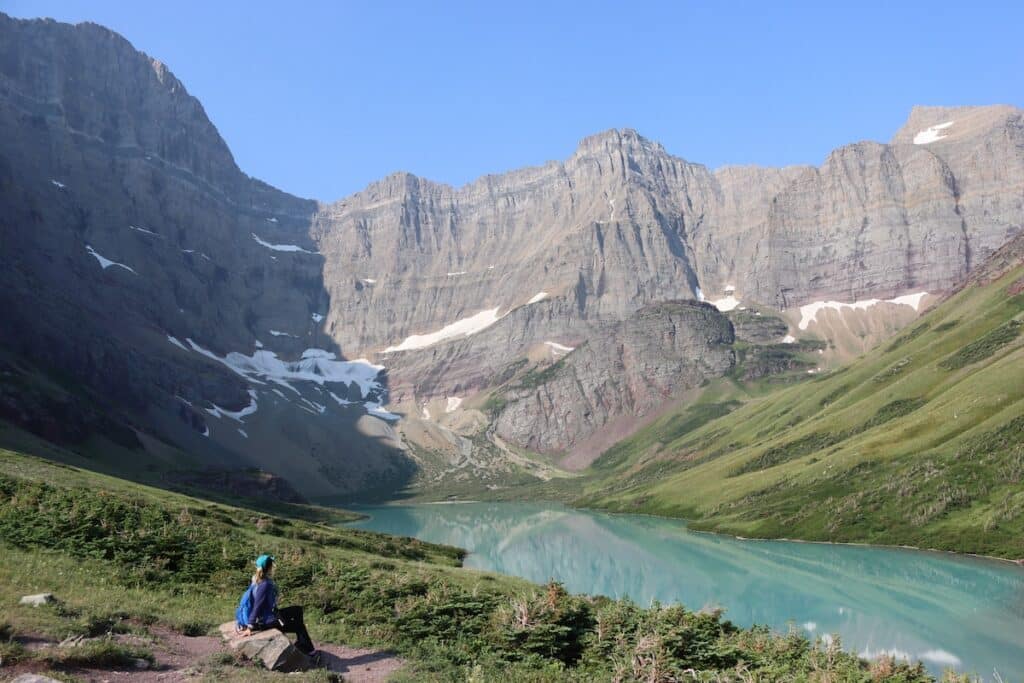
Once you have relaxed and had some snacks along the shoreline (and if you’re brave, taken a dip in the glacial water), you’ll head back the way you came on the same trail. Total, if you take your time, I would expect to be hiking around six hours.
Need help planning your national park trip?

I offer custom national park itinerary planning as a service to help you make the most of your adventures! These itineraries cover everything from where to stay, eat, what to do, and more!
Map of the Cracker Lake hike

Tips for hiking to Cracker Lake
Here are some of my personal tips I’ve found useful when hiking to Cracker Lake, and some things you might want to keep in mind as well.
- Hike early: Unless you are planning to backpack this trail, I recommend starting by 6:00 am if you can. While not as busy as some of the other trails in the park, it can get hot and it’s nice to have the lake to yourself!
- Be bear aware: This trail is notorious for the frequency of its bear sightings. Carry bear spray with you, have it in an easily-accessible place, and be loud when hiking.
- Wear good footwear: Hiking boots are a must on this hike because it is long. While the terrain isn’t super difficult, you definitely want your feet to be comfortable.
- Bring your camera: This is definitely one of the best spots in the park for photography, so you’ll want to consider morning and evening for better light and fewer people!
Join the community! Love the outdoors? Join my free Facebook community where we chat and share information about national parks, hiking, outdoor activities, and more! JOIN HERE!
Cracker Lake hike FAQs
Here are some frequently-asked questions about the Cracker Lake hike.
Conclusion
I hope this has helped you plan your Cracker Lake hike and has given you an idea of what you should expect. This has now become one of my top favorite hikes in the park, and it’s a great option for those who have done some hiking before and want to get some excellent pictures for their social media feeds. Best of all, it’s a lot of bang for your buck!
Let me know if you have any questions about hiking to Cracker Lake in the comments!
National Park essentials
You’ll need to enter: National parks pass 🎟️
Document your trip: National parks journal ✏️
Wear your national parks love: National parks shirts 👕


