
10 Tips for Hiking in Winter
This guide contains affiliate links to trusted partners.
When exploring the outdoors, I encourage you to follow Leave No Trace Principles and be respectful of where you are so we can preserve these spaces for future generations. ♥️
Heading out on your first winter hiking trip and need some tips?
While I would one-hundred percent rather hike in the summer, I’ve had winters at home in Montana where I couldn’t stand not getting out on the trail. When that’s the case, there are a whole bunch of new considerations to think about before you hit the trail. What you’ll wear, bring, and even how you get to the trailhead are all new challenges to keep in mind.
That doesn’t mean that donning your winter gear and getting out there isn’t worthwhile! In fact, some of my most peaceful hikes have been during the winter time. It just requires a little more planning and commitment then during the warmer months.
We’ll go over some of my personal tips I’ve found helpful when hiking in the winter and that you should know before heading out on a chilly morning–with these, you’ll feel a lot more confident about enjoying a hike through a winter wonderland!
In summary: This article includes tips I’ve found helpful on my winter hiking adventures that will prepare you for yours!
Quick tip: I always bring handwarmers with me, even if I know that I won’t need them once I start moving. My hands get very cold, and strapping on snowshoes or microspikes without them can be a nightmare.
1. Research the trails before you go
Growing up in Montana taught me that winter trails can be completely different from summer ones. Always check recent trail reports and conditions before heading out. Some trails that are easy in summer become technical winter routes.
I always look for recent trip reports on AllTrails or local hiking groups, and I call the ranger station when possible. Pay special attention to snow depth, trail marking, and whether the trail is being maintained in winter. Remember that deep snow can hide trail markers, making navigation much more challenging.
2. Wear the right clothing and pack the right gear
Layering is crucial for winter hiking! Start with a moisture-wicking base layer (never cotton!), add an insulating middle layer, and top with a waterproof shell. When hiking in Glacier during winter, I always pack extra layers–weather can change incredibly fast in the mountains.
Don’t forget warm gloves, a winter hat, and neck gaiter. I also always carry the 10 essentials and emergency supplies like a fire starter, emergency blanket, and extra food. Even a short day hike can turn into an emergency if conditions change quickly.
3. Let someone know where you’re going and bring a communication device
This is crucial year-round but especially important in winter. I always leave detailed plans with someone reliable, including my planned route, expected return time, and the trailhead where my car will be parked.
Carry a fully charged phone, but don’t rely on it–battery life decreases in cold weather. I also carry a satellite communication device like a Garmin inReach Mini for areas without cell service. Remember to update your contact if plans change.
Join the community! Love the outdoors? Join my free Facebook community where we chat and share information about national parks, hiking, outdoor activities, and more! JOIN HERE!
4. Wear the right boots
Your summer hiking boots probably won’t cut it in snow! You need waterproof, insulated winter hiking boots with good ankle support. Make sure they’re sized correctly to accommodate thick winter socks–your toes need room to move to stay warm.
I learned this lesson the hard way during my first winter hikes when I wore my summer boots. Your boots should also be compatible with whatever traction devices you’re planning to use, whether that’s microspikes or snowshoes.
5. Be aware of avalanche safety
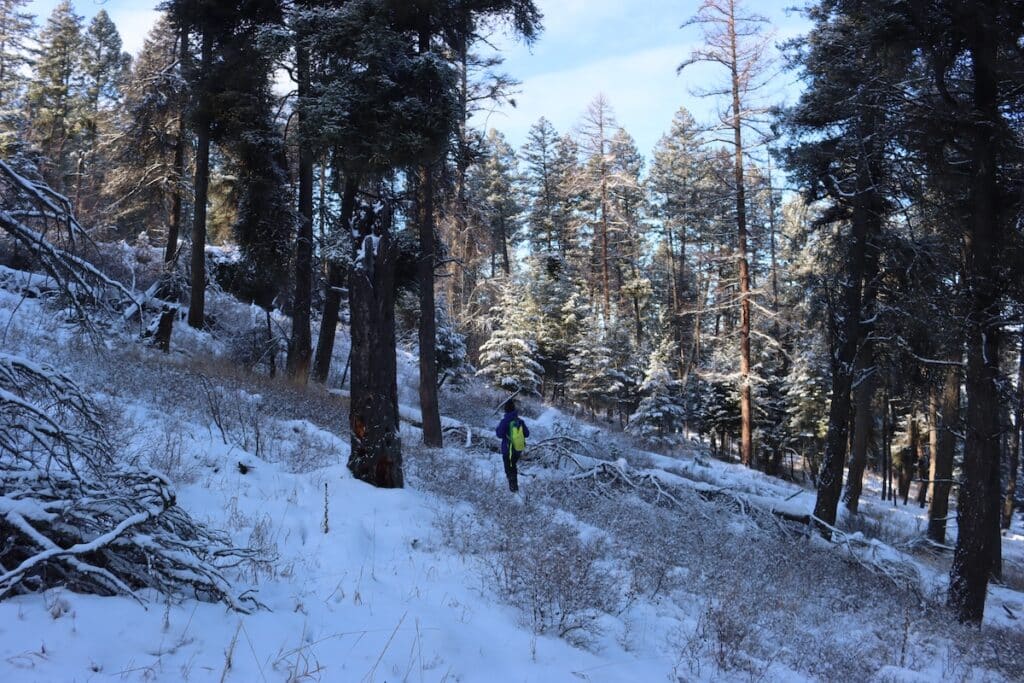
Having grown up in Montana, I take avalanche danger seriously. Know how to recognize avalanche terrain and check the avalanche forecast before heading out. Even if you’re not planning to hike in avalanche terrain, conditions can force you off your planned route.
I always avoid hiking alone in avalanche territory and carry proper safety gear when necessary. If you’re new to winter hiking, stick to low-angle terrain and take an avalanche safety course.
6. Know the signs of hypothermia
Hypothermia can sneak up on you, even on relatively warm winter days. I always watch for early signs like shivering, confusion, or fumbling with simple tasks. If you start feeling cold, stop and add layers before you get too chilled.
Wet clothes from sweating or snow can speed up heat loss dramatically. I’ve learned to be especially careful during breaks–that’s when you can get cold quickly after working up a sweat. This is why I also recommend taking a wilderness first aid course if you can–these are the moments when that knowledge can save your life or others’.
7. Bring the right traction
Different snow conditions require different traction devices. Microspikes are great for packed snow and icy trails, while snowshoes are necessary for deep powder. I often carry both because conditions can vary so much on a single trail. Make sure you know how to use your traction devices before hitting the trail–practicing in your backyard helps develop muscle memory.
8. Stay hydrated
It’s easy to forget about drinking water in cold weather, but winter hiking can be just as dehydrating as summer hiking. I use an insulated water bottle to prevent freezing–nothing worse than finding your water solid when you need it! Keep your water bottle upside down in your pack (ice forms at the top first), and consider carrying a thermos of hot tea or cocoa for an energy boost.
9. Get on the trail early to avoid dark
Winter days are short, and everything takes longer in the snow. I always plan to finish well before sunset, giving myself plenty of buffer time. Even familiar trails can take twice as long in winter conditions. I carry a headlamp even on day hikes–you never know when you might need it. Starting early also usually means better snow conditions before things get too soft and slushy.
10. Make sure your vehicle can get to the trailhead
Many forest service roads aren’t plowed in winter, and conditions can change quickly. I always check road conditions before heading out and carry winter emergency gear in my car–shovel, traction devices, warm blanket, and extra food.
Having grown up in Montana, I’ve learned to never assume a road will be passable just because it was fine last week–my dad got me a “blizzard box” with my first car. Four-wheel drive or chains might be necessary even if the main roads are clear.
Conclusion
I hope this has helped you prepare for your next winter hiking adventure! Preparation is key in order to make your time in the cold enjoyable versus a miserable experience. Even if you aren’t a big fan of winter, you might be surprised how much fun it can be to get out there. Plus, you’re a lot more likely to have the trail to yourself!
Have any questions about hiking in the snow? Let me know in the comments!


