
How to Hike to Lakit Lookout + Tips & FAQs
This guide contains affiliate links to trusted partners.
This guide is sponsored by Cranbrook Tourism. All content and opinions are my own.
British Columbia has a set of principles similar to our ones for Leave No Trace. I encourage you to check out their Don’t Love It to Death information so we can preserve our outdoor spaces for future generations. ❤️
Looking for a hike with incredible views near Cranbrook, BC?
While I knew that I would see some beautiful mountains when visiting the Cranbrook area of British Columbia, I had no idea that I would find one of my new favorite hikes along the way! Our friends at Cranbrook Tourism suggested this trail as one we could complete in an afternoon, and the best part was that it was located near our campsite at Norbury Lake Provincial Park.
I was a little concerned about the weather as we climbed up the steep forest service road that leads to the trailhead. The fall weather had come in a bit early and it looked like we might be hiking with very little visitability. However, once we got started, the clouds magically lowering and we were treated to a stunning cloud inversion.
I highly recommend checking out this trail if you are planning on spending time in British Columbia. It was one of the highlights of my time there, and the best part was that Gravy and I got time at the summit to ourselves!
In summary: This guide will cover everything you need to know about the Lakit Lookout hike, as well as cover some common questions and provide some tips for your own hike.
Quick tip: You are going to want to make sure you have clearance on your vehicle–our Subaru Crosstrek was enough, but a sedan probably won’t be!
Quick stats
Distance: 2.1 miles (3.3 kilometers)
Difficulty: Moderate
Elevation gain: 1,204 feet (366 meters)
Time on trail: 2 hours

How to hike to Lakit Lookout
To get to the trailhead for the Lakit Lookout hike, you’re going to drive about 40 minutes from downtown Cranbrook. You’ll take Highway 93/95 until you reach Fort Steele Road. You’ll drive for about two minutes here before turning left onto Fort Steele-Wildhorse Road. You’ll stay on this road for a while until you reach a point where there is a slight left onto a Forest Service Road.
In some ways, driving this road is the most difficult part of the hike. If you are used to bumpy, one-way roads, then you shouldn’t have much trouble. However, if you do not have a four-wheel drive vehicle with some clearance, I would rethink about taking this on until you have access to one that does. Forest service roads aren’t always maintained, so there might be washout and rocks in the road depending when you plan on taking on this trail.
It will probably take you some time to safely drive this road until you get to the trailhead, so keep this in mind if you are planning to do some other activities that day. There are a few turnouts along the way that you can use to let other cars pass if needed. I saw a few other people headed up, but no one headed the opposite direction.
Once you have reached the trailhead, you’ll know where to start because there is a very small parking lot with room for around five or six cars and a sign letting you know where the trailhead starts. There is also a pit toilet at the trailhead, but it was closed when we were there.
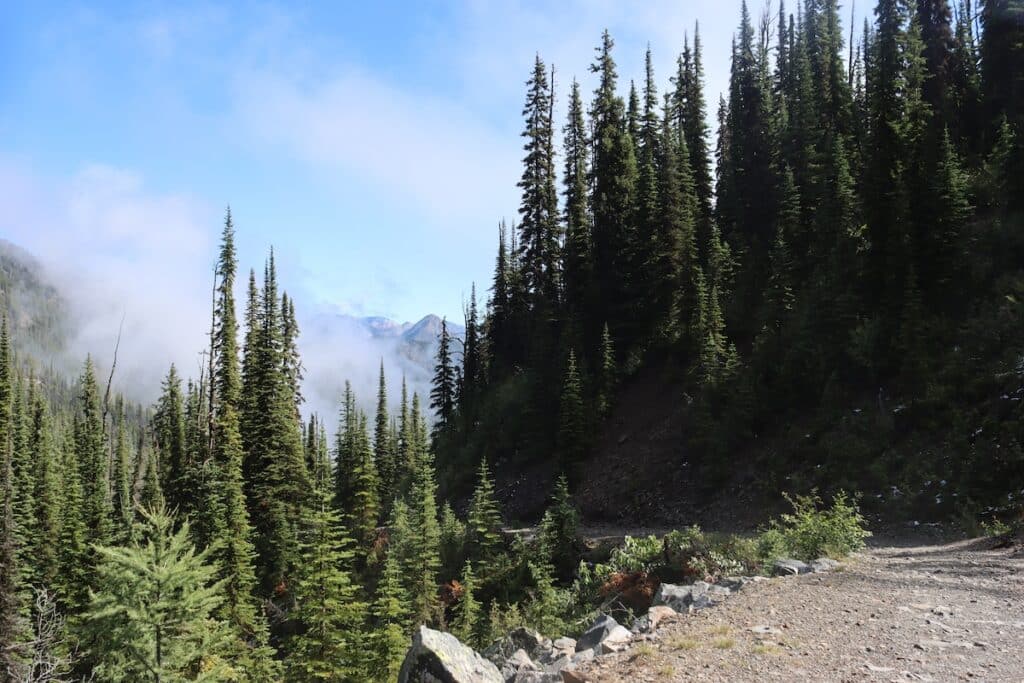
You’ll immediately start gaining elevation once you start out on the trail. There is really only one flat section toward the beginning of the hike. Because you are gaining so much elevation within such a short distance, it’s pretty much all the way up from here! Feel free to stop and take plenty of breaks as you climb up.
I would also recommend bringing your bear spray with you. While we didn’t see any signs of bears during the fall months when we visited, it never hurts to be prepared. This is a popular local hike, so we did see a number of other hikers on the trail too.
Once you have hiked up about three-quarters of the way, you’ll start to see some of the surrounding mountains. You are in the heart of the East Kootenays, and you’ll see peaks all around you. I personally loved taking on this trail during the fall when the leaves were starting to change and the air was nice and brisk as we made our way up.

As you reach the final stretch, you’ll see another pit toilet with the most amazing view. I have honestly seen very few bathroom facilities that open out to such a beautiful landscape. It was open and available for use.
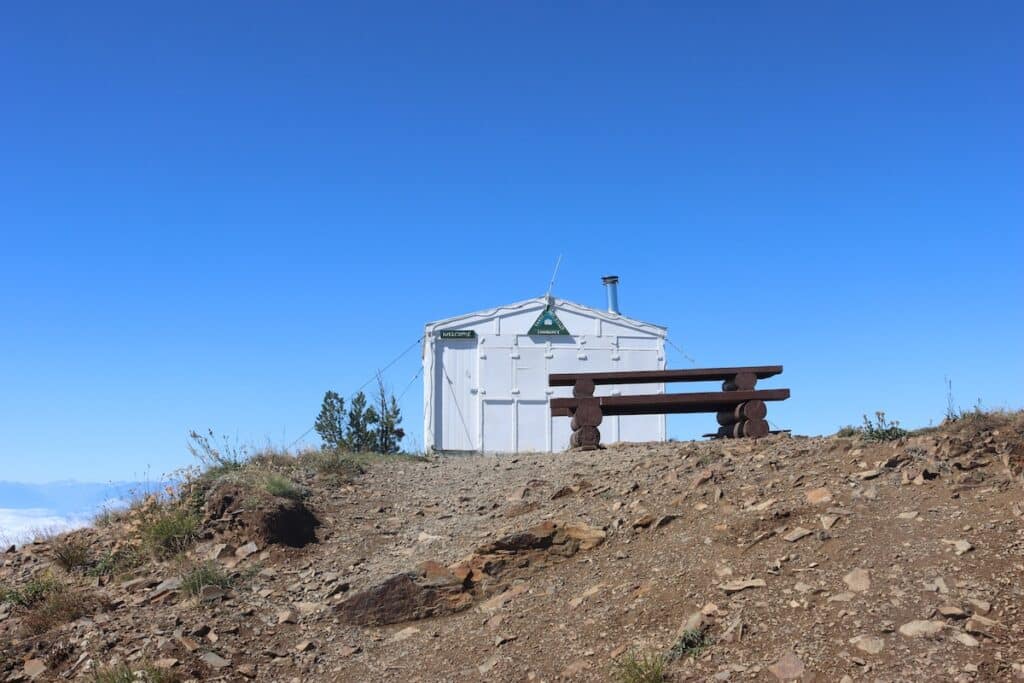
The Lakit Lookout itself is just a few feet farther. Definitely take a peek inside once you have had a chance to catch your breath. You’ll find logbooks inside from the 1970s onwards. Originally, there was a structure here that was built in the 1950s, and was later replaced by the current lookout. It’s a fun way to end a tough climb up.
Gravy and I hung out here for a while–there is a picnic table where you can rest and have your lunch while gazing at the mountains. We were also lucky enough to see a cloud inversion–it made an already magical hike even more so.
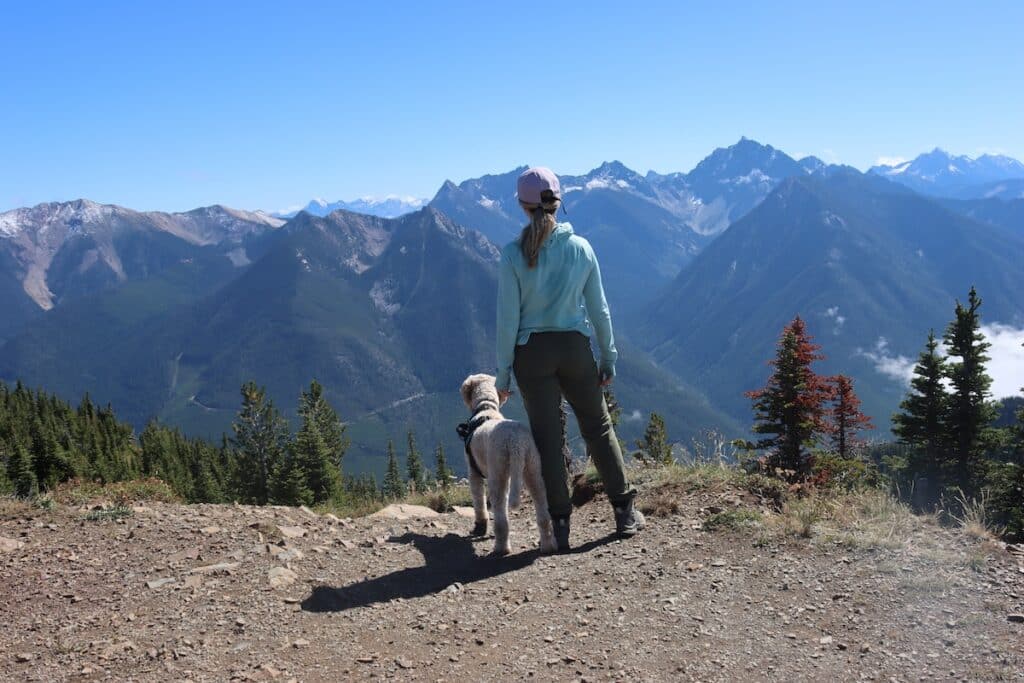
After snapping some photos, to get back to your car, you head back the way you came. Once you reach your car, I also recommend heading back down the forest service road the same way you came, as well. While there is another road that will take you down, it seemed bumpier and tighter, so I opted to choose the road I already knew on this adventure.
Tips for hiking to Lakit Lookout
Here are some tips that I found helpful for taking on the Lakit Lookout hike.
- Take the forest service road slow: This was one of the most challenging parts of the hike! Take things extra slowly to avoid damage to your car–you should have a good idea of whether or not it can handle rough bumps.
- Wear good footwear: While the trail is well-maintained, I was glad I had my hiking boots on since there is a lot of elevation gain within a short distance. Trail runners should serve you just fine too!
- Take lots of breaks: Because you are gaining so much elevation, don’t be surprised if you end up breathing pretty hard! Don’t be afraid to stop and drink water so you have a greater chance of reaching the top.
- Have your snacks on-hand: You’ll be exerting yourself a lot, so you’ll need a way to keep fueled as you go. I brought lunch and a number of snacks. At first I thought I was overdoing it, but I was certainly glad I had them when I got to the top!
Join the community! Love the outdoors? Join my free Facebook community where we chat and share information about national parks, hiking, outdoor activities, and more! JOIN HERE!
Lakit Lookout hike FAQs
Here are some commonly-asked questions about the Lakit Lookout hike.
Conclusion
This hike quickly became one of my new favorites! While it is a bit of a struggle getting to the top and you do have to contend with the forest service road, it’s well-worth it for the views of the East Kootenays! Best of all, it’s located not far from Cranbrook’s restaurants, so you can treat yourself to a delicious meal after a day of hitting the trail–you deserve it!
Have any questions about taking on the Lakit Lookout hike? Let me know in the comments!


